¶ Overview
When building a CoreXY 3D Printer, one of the most important steps to take is ensuring that everything is as close to perfectly square as possible. If things are out of square, no matter how much tweaking and tuning you do, you will not achieve optimal printing quality and may increase ware on several key components.
If you prefer a video, NERO 3D has done an amazing job detailing this process in his Building Your Frame Square and True - Setup for sucess! video.
¶ Steps
¶ Ensure the Frame is Square
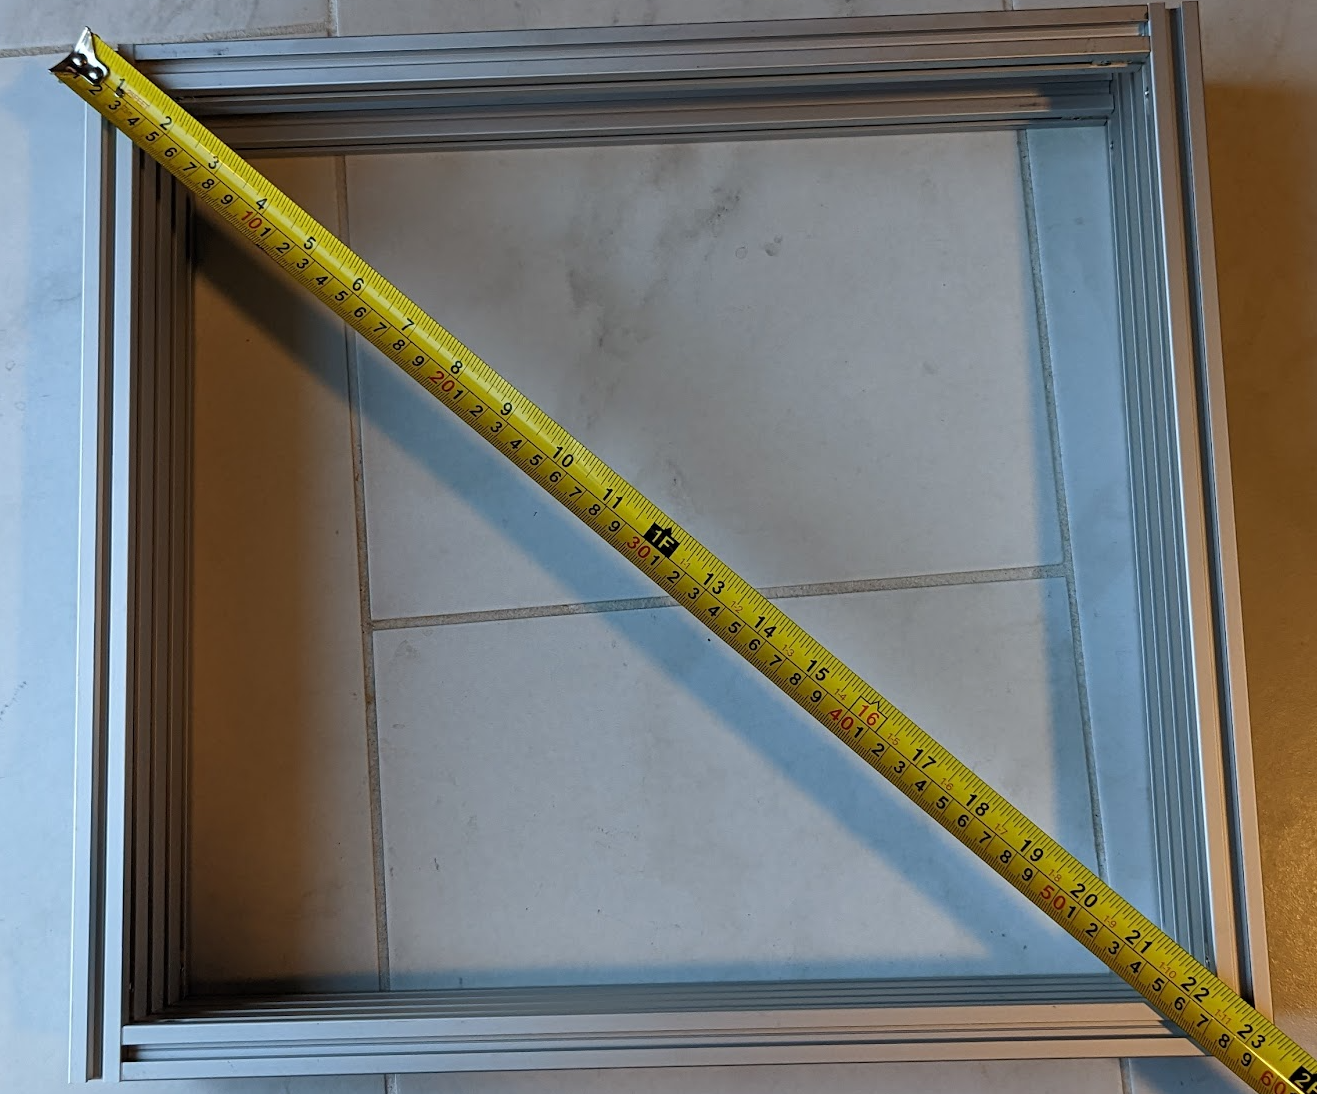
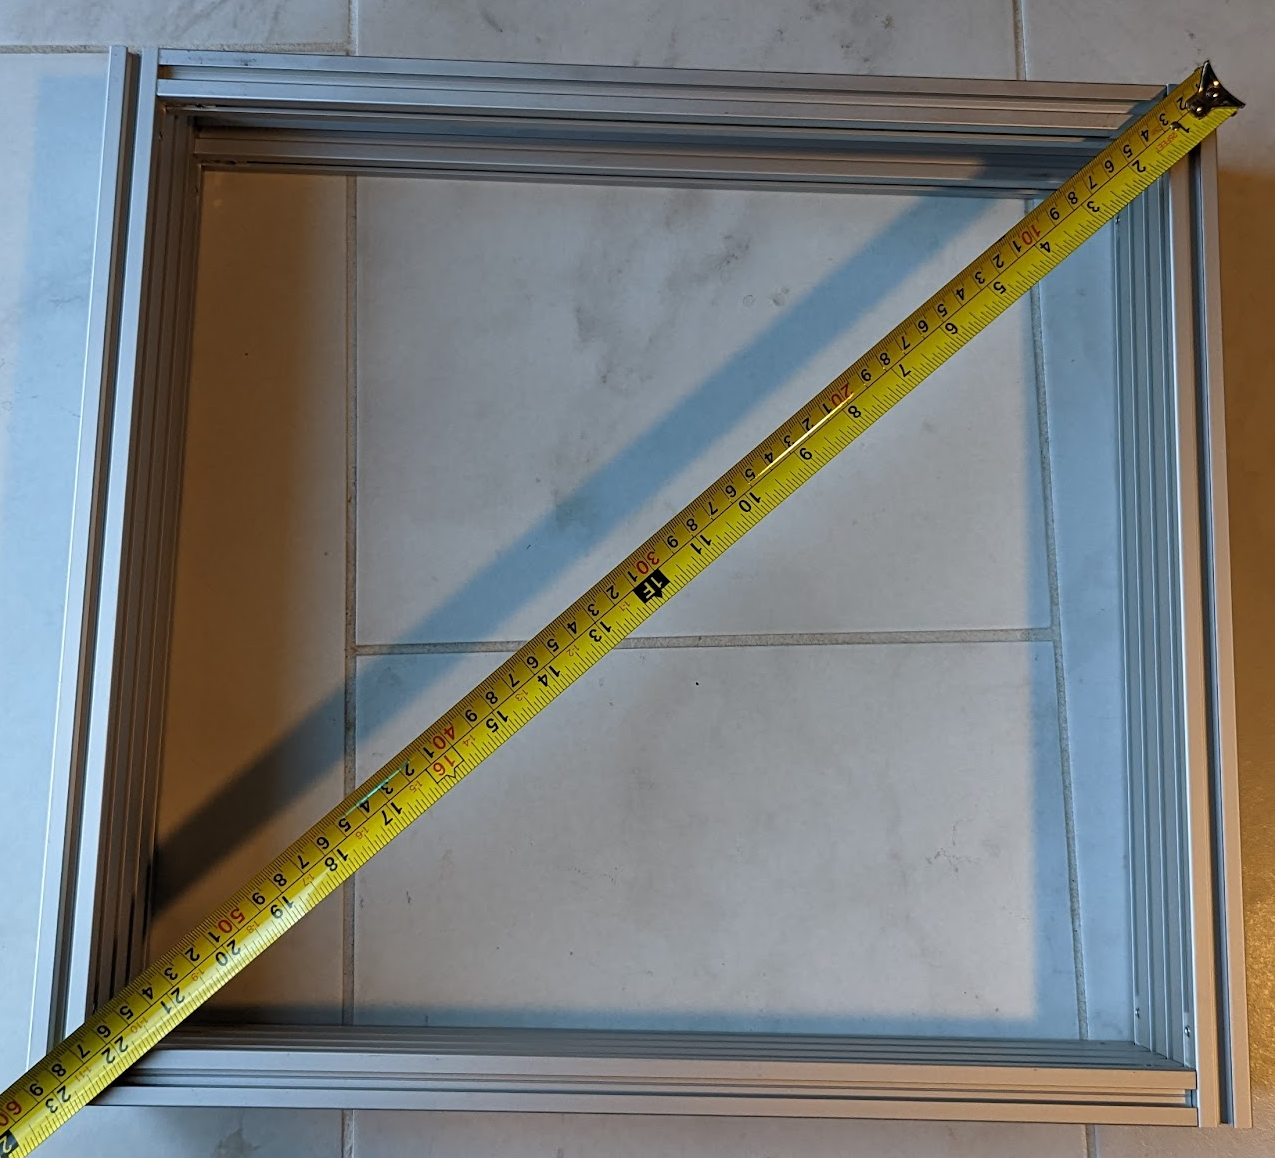
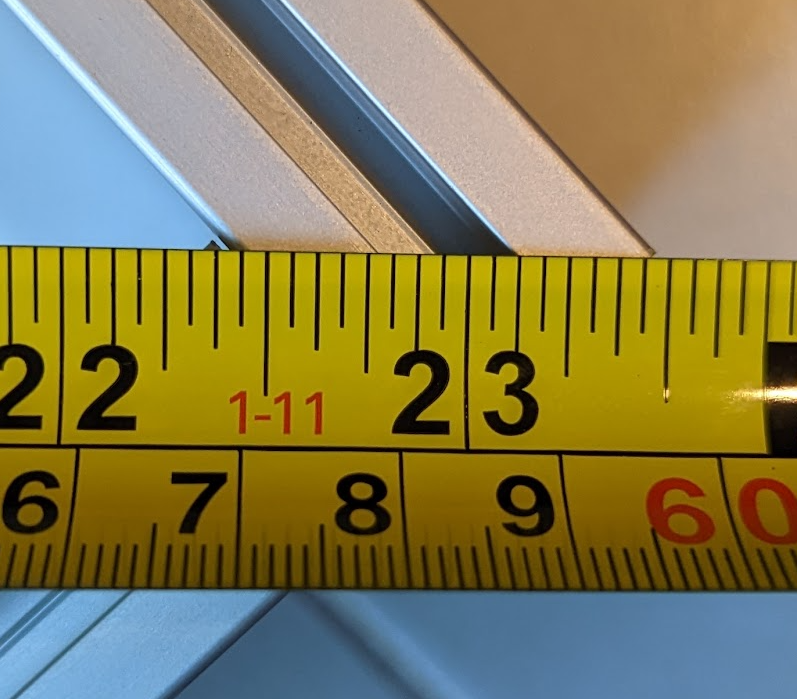
This section will be improved soon. In the meantime, here are a couple of pictures from an X301 build. You want to measure the distance between corners of a square or rectangle and ensure they are within 1-2mm of each other. This isn't rocket surgey, but the closer they are, the better. If they are not square, you will need to adjust the various screws until they are.
A very easy way to help ensure squareness is to tighten the screws against a very flat surface, such as a tile or granite countertop. If it isn't possible for you to find a very flat surface, work with what you've got and check squareness often.


¶ Ensure the Belts are Equal Lengths
More information will be added to this section soon. In the meantime, the carriage should move around the entire area smoothly and without points of increased or decreased resistance. If this is not the case, odds are that your belts may be different lengths or that the carriage extrusions are not perfectly in square as described in the previous section.