¶ Calibration Object
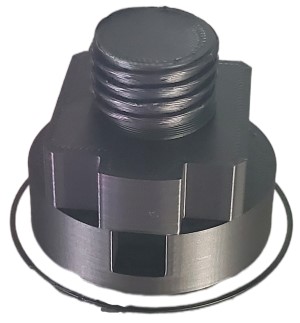
Are you tired of printing Calibration Cubes or Benchy's? Are they sitting in a drawer, shelf, or some other place just collecting dust? Well lets introduce you to our new Calibration Cylinder!
YouTube Video about "The Filament Calibration Cylinder"
¶ 3d Model for Download
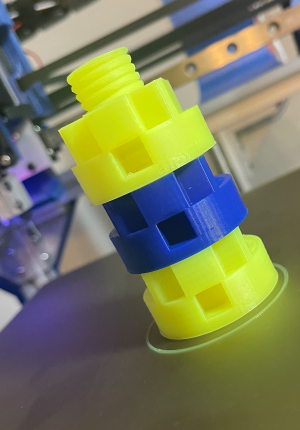
This test object is perfect for testing your printers dimensional accuracy, bridging, flow and just about everything you can test. All in this little 20 minute test print. Okay, maybe not every printer will be able to do 20 minutes. But the LayerFused X-series printers can!
¶ Slicer Settings
To slice this you will want to use your typical printing speeds. The main settings that you want to adjust are below.
- 3 Walls / Shells / Perimeters
- 0% Infill
- Temp approiate for Filament you are testing
¶ Measurements
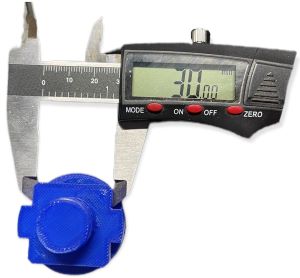
Using this model you can test to make sure your Steps/mm are correct. The top of the cylinder is cube shaped and should measure 30mm when measured with calipers. That will verify your X/Y axis.
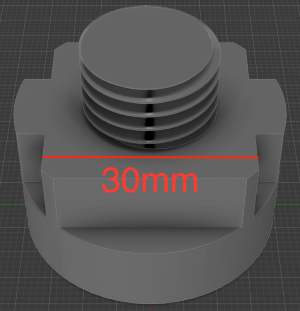
For your Z Steps the second tier of the model should measure 10mm. The hole in either side provides easy access for your calipers to fit in for the measurement. This measurement may be difficult if your bridging is a little bit iffy.
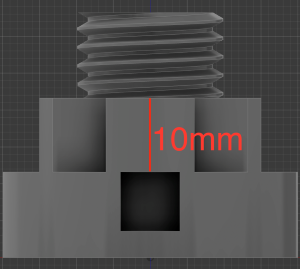
The insets on each side of the second tier are also 10mm in height. You can use the inside of your calipers to measure this.
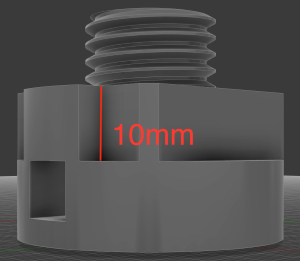
The open square on either side of the model is an 8x8mm cube. You can use the back side of the calipers to measure this.
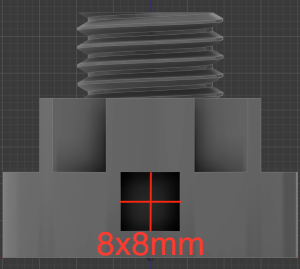
For the Dimensional accuracy portion of this model, you'll notice the model has threads on the top and bottom. You guessed it! You screw 2 or more of them together! You could also use an M20 2.5 nut to screw on to the threads If you didnt want to print another model and happen to have a Nut that size laying around. These should screw together easily with little to no effort. If you are finding it hard to to attach them you might be over extruding. That is where the flow adjustments come in.
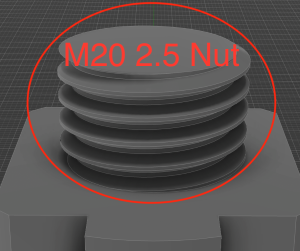
The overall model should also be ROUND. If you find you have more of an egg shape, you could have a skew on your gantry or your bed is not square to the frame.