¶ Overview
This page will walk you through installing Klipper and preparing it for use on a LayerFused 3D Printer. The instructions will be provided with the X301 powered by a Big Tree Technology Manta M8P with attached CB1, but they should be applicable to most configurations.
¶ Things to have
- Raspberry Pi (3B+ or better)
- The newly released (OCT2022) BTT CB1 may be a good alternative if you cannot get your hands on a Raspberry Pi, but be aware that it is not as well known or supported as the official Pi's
- 32GB+ Micro SD Card*
- Base OS for device as explained below
- Raspberry Pi Imager
- balenaEtcher is another common alternative, though the official imager provides additional functionality
- Computer to flash the OS and configure the device via SSH
- PuTTY is a great tool for SSH'ing from Windows
* LayerFused is an Amazon Associates and will earn a commission at no additional cost to you if you use this link.
¶ Instructions
¶ Install the Base OS
Klipper is installed as a package on top of an existing linux operating system. It is very common to use a Raspberry Pi to run Klipper, but due to the state of the world, it is increasingly difficult to find one for a reasonable price. To help with this, BTT created the CB1, which takes the place of the Raspberry Pi CM4 and can attach directly to their new Manta boards for a very clean installation.
In any case, if you are using a Raspberry Pi like computer, all you need to do for this step is to use the Raspberry Pi Imager to install the correct image from the following list:
- Official Raspberry Pi Options
- Raspberry Pi OS (Ensure you download a LITE version since we do not need the Desktop Environment and it takes additional resources. Also ensure you are downloading the 64-bit Image if your Pi is in the list of supported Pi's)
- FluiddPi (OS pre-installed with Fluidd. It is likely out of date, but can be updated once installed)
- MainsailOS (OS pre-installed with Mainsail. It is likely out of date, but can be updated once installed)
- BTT CB1 OS
¶ Configure the WiFi
In the case of an official Raspberry Pi, you can click the cog icon in the bottom corner of the Rasperry Pi Imager before you flash the image to your micro sd card. From here. you can enable SSH and set a wifi SSID and Password.
In the case of the CB1, after you have finished writing your image to the micro sd card, you should notice a BOOT partition. Within this partition is likely a system.cfg file. If there is a wpa_supplicant.conf file, you should download a newer version of the OS from the link above as they removed this file from their image in JUL2022. Set the WIFI_SSID and WIFI_PASSWD variables as appropriate. It may also be worthwhile to change the WIFI_AP_SSID and WIFI_AP_PASSWD variables in case that get activated unintentionally. I do not intend to use these, so I just entered a random secure password.
Note that the CB1 has an external WiFi antenna and you will need to connect this while powered off or it is very unlikely that it will connect to your WiFi.
Once the above steps are completed, you should be able to unmount your micro sd card and insert it into you Pi. In the case of the BTT Manta boards, this card should go in the slot labeled CARD, not MCU CARD.
¶ Connecting to your Device
Once your device is powered on, you should see it on your network. Everyone's network is different, so finding it will vary, but a good place to look first would be you router's DHCP leases.
Once you find your IP Address, connect to it via SSH.
The default credentials for Raspberry Pi OS is usernamepi and password raspberry, while the CB1 image uses username biqu and password biqu.
If you are using the BTT Manta and CB1, you should see a green light on the CB1 as well as the lights on the LAN port. If you do not, you will have to disconnect power from the main power input, place a jumper on the VUSB pins just above the CB1, and connect a 5V PSU (cannot be a PSU which negotiates voltage, it must only supply 5V) to the USB port.
¶ Update your Device
It is always recommended to start of with the most up-to-date packages, so make sure you run the following commands first:
sudo apt update && sudo apt upgrade
sudo apt-get install git -y
reboot
¶ Installing with KIAUH
The easiest way to install Klipper and other related packages is by using KIAUH.
Run the following commands to launch KIAUH:
cd ~
git clone --depth 1 https://github.com/th33xitus/kiauh.git
./kiauh/kiauh.sh
¶ Install Klipper, Moonraker, and a Web Interface
Upon launching the above commands, you will see the following screen:
/=======================================================\
|     ~~~~~~~~~~~~~~~~~ [ KIAUH ] ~~~~~~~~~~~~~~~~~     |
|        Klipper Installation And Update Helper         |
|     ~~~~~~~~~~~~~~~~~~~~~~~~~~~~~~~~~~~~~~~~~~~~~     |
\=======================================================/
/=======================================================\
| Please read the newest changelog carefully:           |
| https://git.io/JnmlX                                  |
\=======================================================/
/=======================================================\
|     ~~~~~~~~~~~~~~~ [ Main Menu ] ~~~~~~~~~~~~~~~     |
|-------------------------------------------------------|
|  0) [Log-Upload]   |       Klipper: Not installed!    |
|                    |          Repo: -                 |
|  1) [Install]      |                                  |
|  2) [Update]       |     Moonraker: Not installed!    |
|  3) [Remove]       |                                  |
|  4) [Advanced]     |      Mainsail: Not installed!    |
|  5) [Backup]       |        Fluidd: Not installed!    |
|                    | KlipperScreen: Not installed!    |
|  6) [Settings]     |  Telegram Bot: Not installed!    |
|                    |         Obico: Not installed!    |
|                    |                                  |
|  5524a40           |     Octoprint: Not installed!    |
|-------------------------------------------------------|
|                        Q) Quit                        |
\=======================================================/
####### Perform action:
Enter 1 to Install Klipper. You will see this screen:
/=======================================================\
|     ~~~~~~~~~~~~~~~~~ [ KIAUH ] ~~~~~~~~~~~~~~~~~     |
|        Klipper Installation And Update Helper         |
|     ~~~~~~~~~~~~~~~~~~~~~~~~~~~~~~~~~~~~~~~~~~~~~     |
\=======================================================/
/=======================================================\
|     ~~~~~~~~~~~ [ Installation Menu ] ~~~~~~~~~~~     |
|-------------------------------------------------------|
|  You need this menu usually only for installing       |
|  all necessary dependencies for the various           |
|  functions on a completely fresh system.              |
|-------------------------------------------------------|
| Firmware & API:          | 3rd Party Webinterface:    |
|  1) [Klipper]            |  6) [OctoPrint]            |
|  2) [Moonraker]          |                            |
|                          | Other:                     |
| Klipper Webinterface:    |  7) [PrettyGCode]          |
|  3) [Mainsail]           |  8) [Telegram Bot]         |
|  4) [Fluidd]             |  9) [Obico for Klipper]    |
|                          |                            |
| Touchscreen GUI:         | Webcam Streamer:           |
|  5) [KlipperScreen]      | 10) [MJPG-Streamer]        |
|-------------------------------------------------------|
|                       B) « Back                       |
\=======================================================/
####### Perform action:
Use 1 to install Klipper.
/=======================================================\
|     ~~~~~~~~~~~~~~~~~ [ KIAUH ] ~~~~~~~~~~~~~~~~~     |
|        Klipper Installation And Update Helper         |
|     ~~~~~~~~~~~~~~~~~~~~~~~~~~~~~~~~~~~~~~~~~~~~~     |
\=======================================================/
/=======================================================\
| Please select the preferred Python version.           |
| The recommended version is Python 2.7.                |
|                                                       |
| Installing Klipper with Python 3 is officially not    |
| recommended and should be considered as experimental. |
|-------------------------------------------------------|
|  1) [Python 2.7]  (recommended)                       |
|  2) [Python 3.x]  (experimental)                      |
|-------------------------------------------------------|
|                       B) « Back                       |
\=======================================================/
###### Select Python version:
Select 1 to use Python 2.7, then select 1 and Y to configure Klipper for one single printer. Once complete, you will be returned to the Installation Menu seen above. If you are curious why Klipper is still on Python 2.7, there has been an issue open for it since 2017 here.
We will use 2 to install Moonraker, which exposes an API which lets a frontend like Fluidd, Mainsail, or OctoPrint interact with Klipper. Select Y and the installation will begin. Once finished, we will once again be returned to the Installation Menu.
Now we can use either option 3 for Mainsail, 4 for Fluidd, or 6 for OctoPrint to install our choice of web interface. This choice is pretty dependent on personal preference and all have their own pro's and con's. Additionally, KIAUH lets you install multiple and set them to different ports if you want to go down that route. If it becomes relevant later on, I chose Fluidd here.
Once your installations are finished, enter B and you should see the following screen.
/=======================================================\
|     ~~~~~~~~~~~~~~~~~ [ KIAUH ] ~~~~~~~~~~~~~~~~~     |
|        Klipper Installation And Update Helper         |
|     ~~~~~~~~~~~~~~~~~~~~~~~~~~~~~~~~~~~~~~~~~~~~~     |
\=======================================================/
/=======================================================\
| Please read the newest changelog carefully:           |
| https://git.io/JnmlX                                  |
\=======================================================/
/=======================================================\
|     ~~~~~~~~~~~~~~~ [ Main Menu ] ~~~~~~~~~~~~~~~     |
|-------------------------------------------------------|
|  0) [Log-Upload]   |       Klipper: Installed: 1      |
|                    |          Repo: Klipper3d/klipper |
|  1) [Install]      |                                  |
|  2) [Update]       |     Moonraker: Installed: 1      |
|  3) [Remove]       |                                  |
|  4) [Advanced]     |      Mainsail: Not installed!    |
|  5) [Backup]       |        Fluidd: Installed!        |
|                    | KlipperScreen: Not installed!    |
|  6) [Settings]     |  Telegram Bot: Not installed!    |
|                    |         Obico: Not installed!    |
|                    |                                  |
|  5524a40           |     Octoprint: Not installed!    |
|-------------------------------------------------------|
|                        Q) Quit                        |
\=======================================================/
####### Perform action:
¶ MCU/Firmware Build
At the main menu, enter 4 for Advanced so you can build the firmware for your control board. You will be brought to the following screen.
/=======================================================\
|     ~~~~~~~~~~~~~~~~~ [ KIAUH ] ~~~~~~~~~~~~~~~~~     |
|        Klipper Installation And Update Helper         |
|     ~~~~~~~~~~~~~~~~~~~~~~~~~~~~~~~~~~~~~~~~~~~~~     |
\=======================================================/
/=======================================================\
|     ~~~~~~~~~~~~~ [ Advanced Menu ] ~~~~~~~~~~~~~     |
|-------------------------------------------------------|
| Klipper & API:          | Mainsail:                   |
|  1) [Rollback]          |  6) [Theme installer]       |
|                         |                             |
| Firmware:               | System:                     |
|  2) [Build only]        |  7) [Change hostname]       |
|  3) [Flash only]        |                             |
|  4) [Build + Flash]     | Extras:                     |
|  5) [Get MCU ID]        |  8) [G-Code Shell Command]  |
|-------------------------------------------------------|
|                       B) « Back                       |
\=======================================================/
####### Perform action:
Enter 2 for Build only. The reason being some of the boards do not like the bootloaders. It is easiest to copy the compiled firmware file to the SD card for the board so that it installs upon boot.
A gray screen similar to the following will appear.

Enable the extra low-level configuration options and configure your board as appropriate. Here is a list of settings for a couple of the commonly used boards:
| Board | Micro-controller | Processor Model | Bootloader Offset | Clock Reference |
|---|---|---|---|---|
| SKR 1.4 | STMicroelectronics STM32 | LPC1768 | ||
| SKR 1.4T | STMicroelectronics STM32 | LPC1769 | ||
| SKR2 | STMicroelectronics STM32 | STM32F407 | 32KiB bootloader | |
| SKR Pro | STMicroelectronics STM32 | STM32F407 | 32KiB bootloader | |
| SKR 3 <br/> (including EZ) | STMicroelectronics STM32 | STM32H743 | 128KiB bootloader | 25MHz Crystal |
| GTR | STMicroelectronics STM32 | STM32F407 | 32KiB bootloader | |
| BTT Octopus | STMicroelectronics STM32 | STM32F446 | 32KiB bootloader | 12MHz Crystal Clock Reference |
| BTT Manta | STMicroelectronics STM32 | STM32G0B1 | 8KiB bootloader | 8 MHz crystal |
Once you have selected the necessary settings for your board press Q and you will be prompted to save the configuration and the firmware will be compiled.
Once finished, enter B to go back to the Main Menu and then Q to quit.
¶ Flash the Firmware
Various boards will likely have their own exact steps required to newly created firmware located at ~/klipper/out/klipper.bin. Consult your board's documentation to determine exactly how you should go about flashing it.
One such example would be the case of the BTT Manta, which has you put this file on a micro sd card at /firmware.bin, insert it into the MCU CARD slot on the board, then reboot. It will then install it and name it FIRMWARE.CUR which lets you know it was successful.
Alternatively, it can be flashed by running the following commands:
ls /dev/serial/by-id/
There should only be one file here. This is the serial path to your MCU as seen by the operating system.
Once this is discovered, you can run the following command:
cd ~/klipper
make flash FLASN_DEVICE=/dev/serial/by-id/usb-<YOUR_FULL_FILENAME>
It will appear to give you an error for dfu-util's get_status, but this is fine to ignore as long as you see File downloaded successfully above it.
¶ Printer Configuration
I have taken the time to put together somewhat of a default configuration for the LayerFused X series printers for the commonly used boards. These configuration files are stored in the Makers Mashup BitBucket and can be found here. Some of them have been tested, some have not. They are still a work in progress but provide a good starting point.
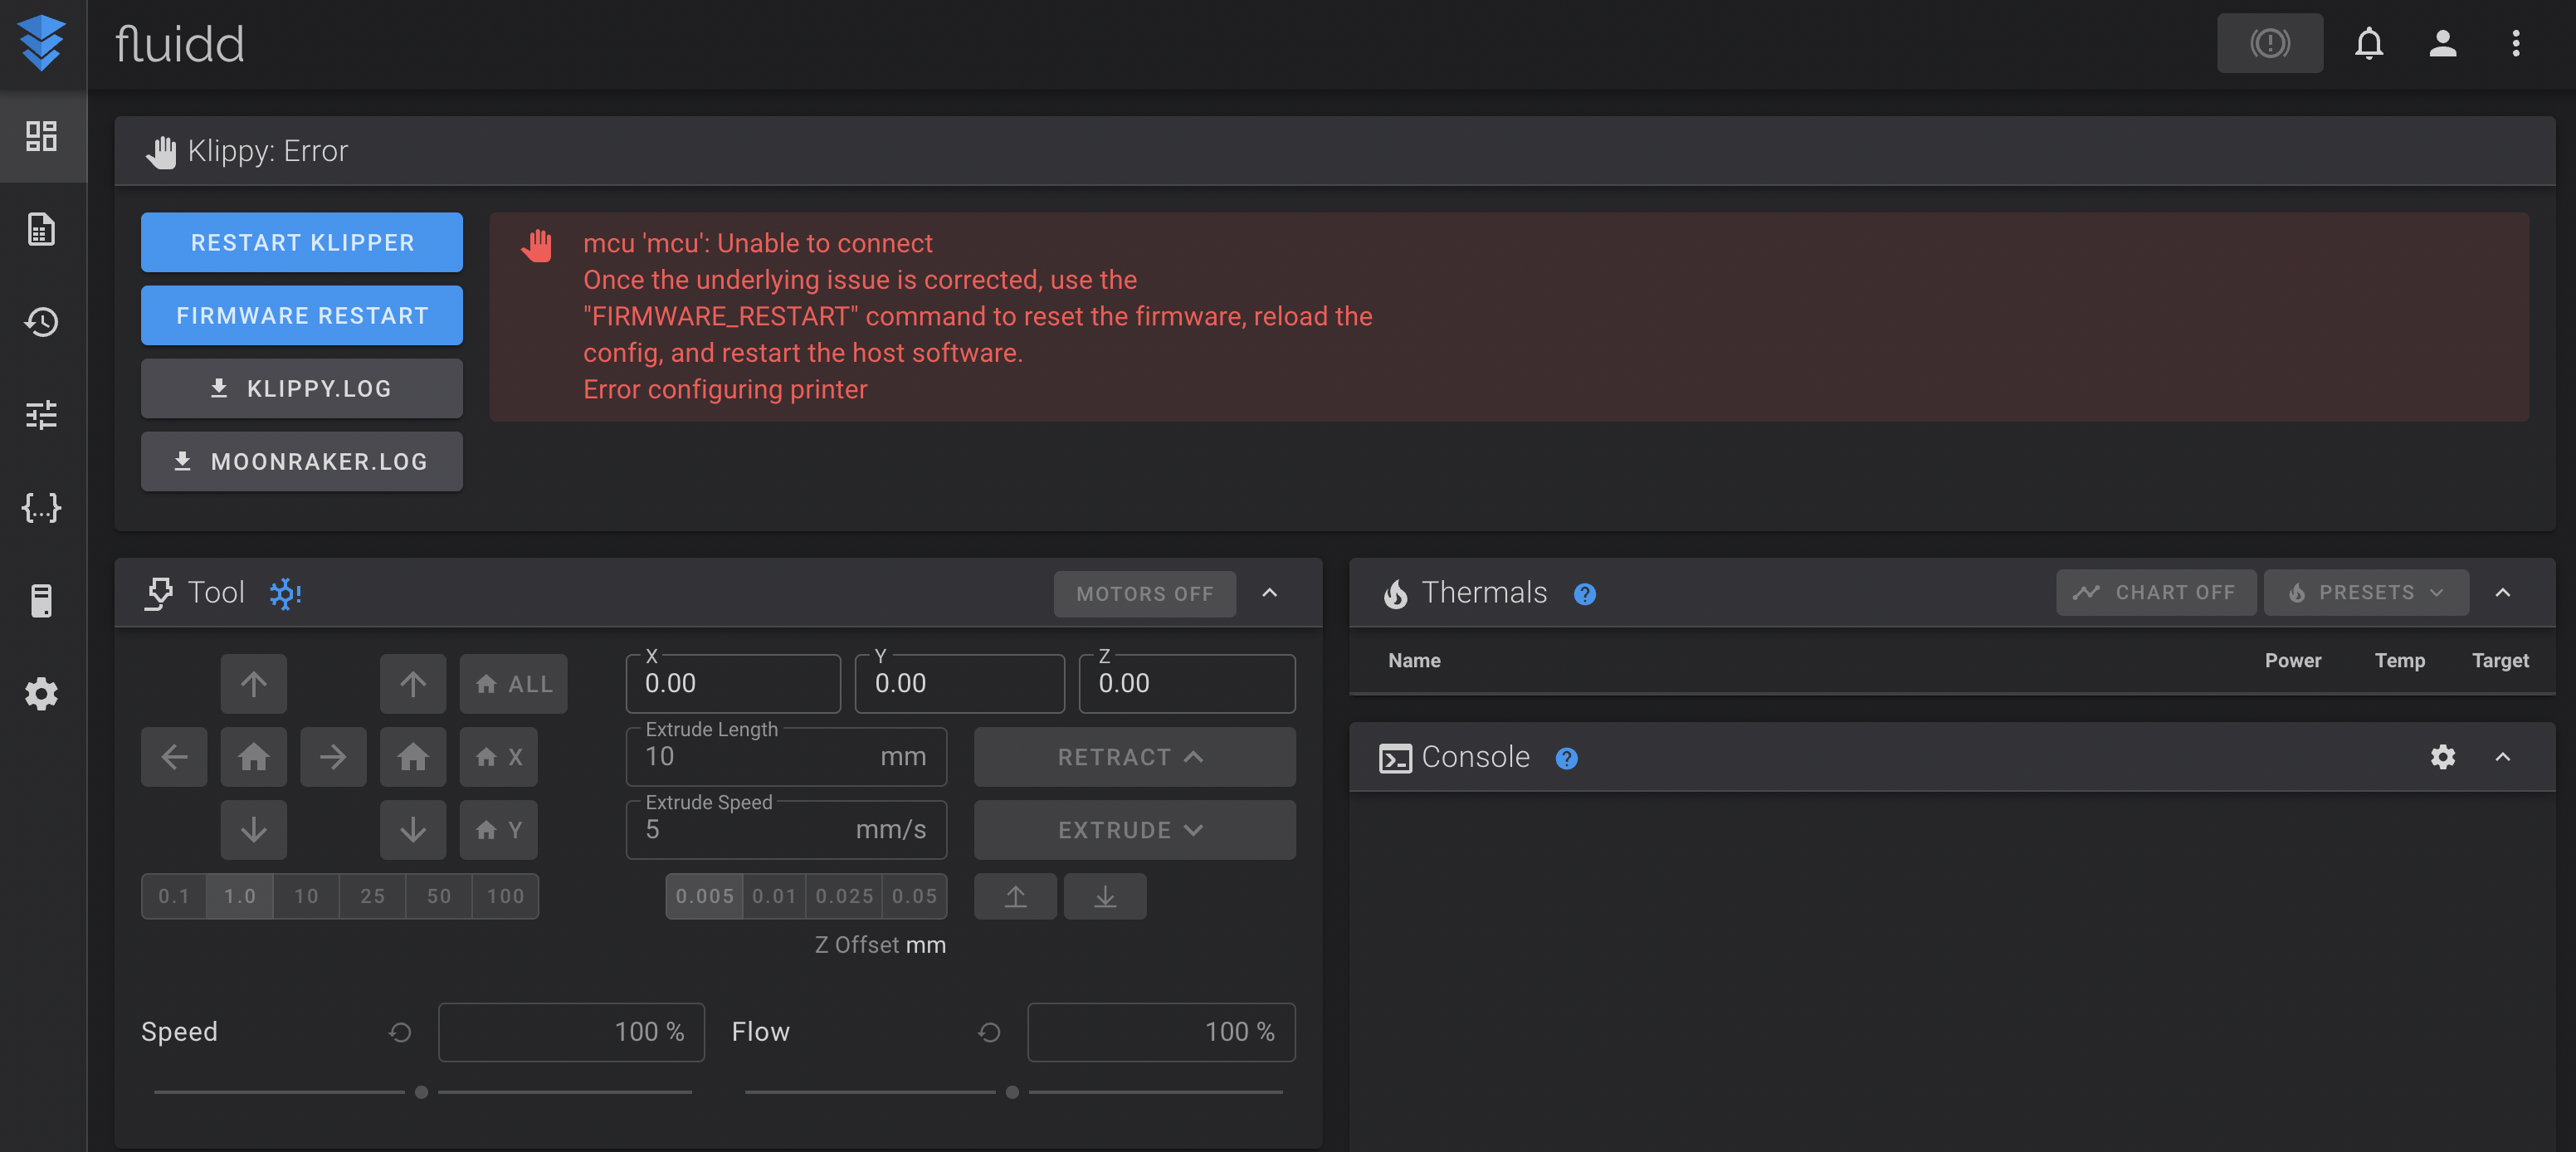
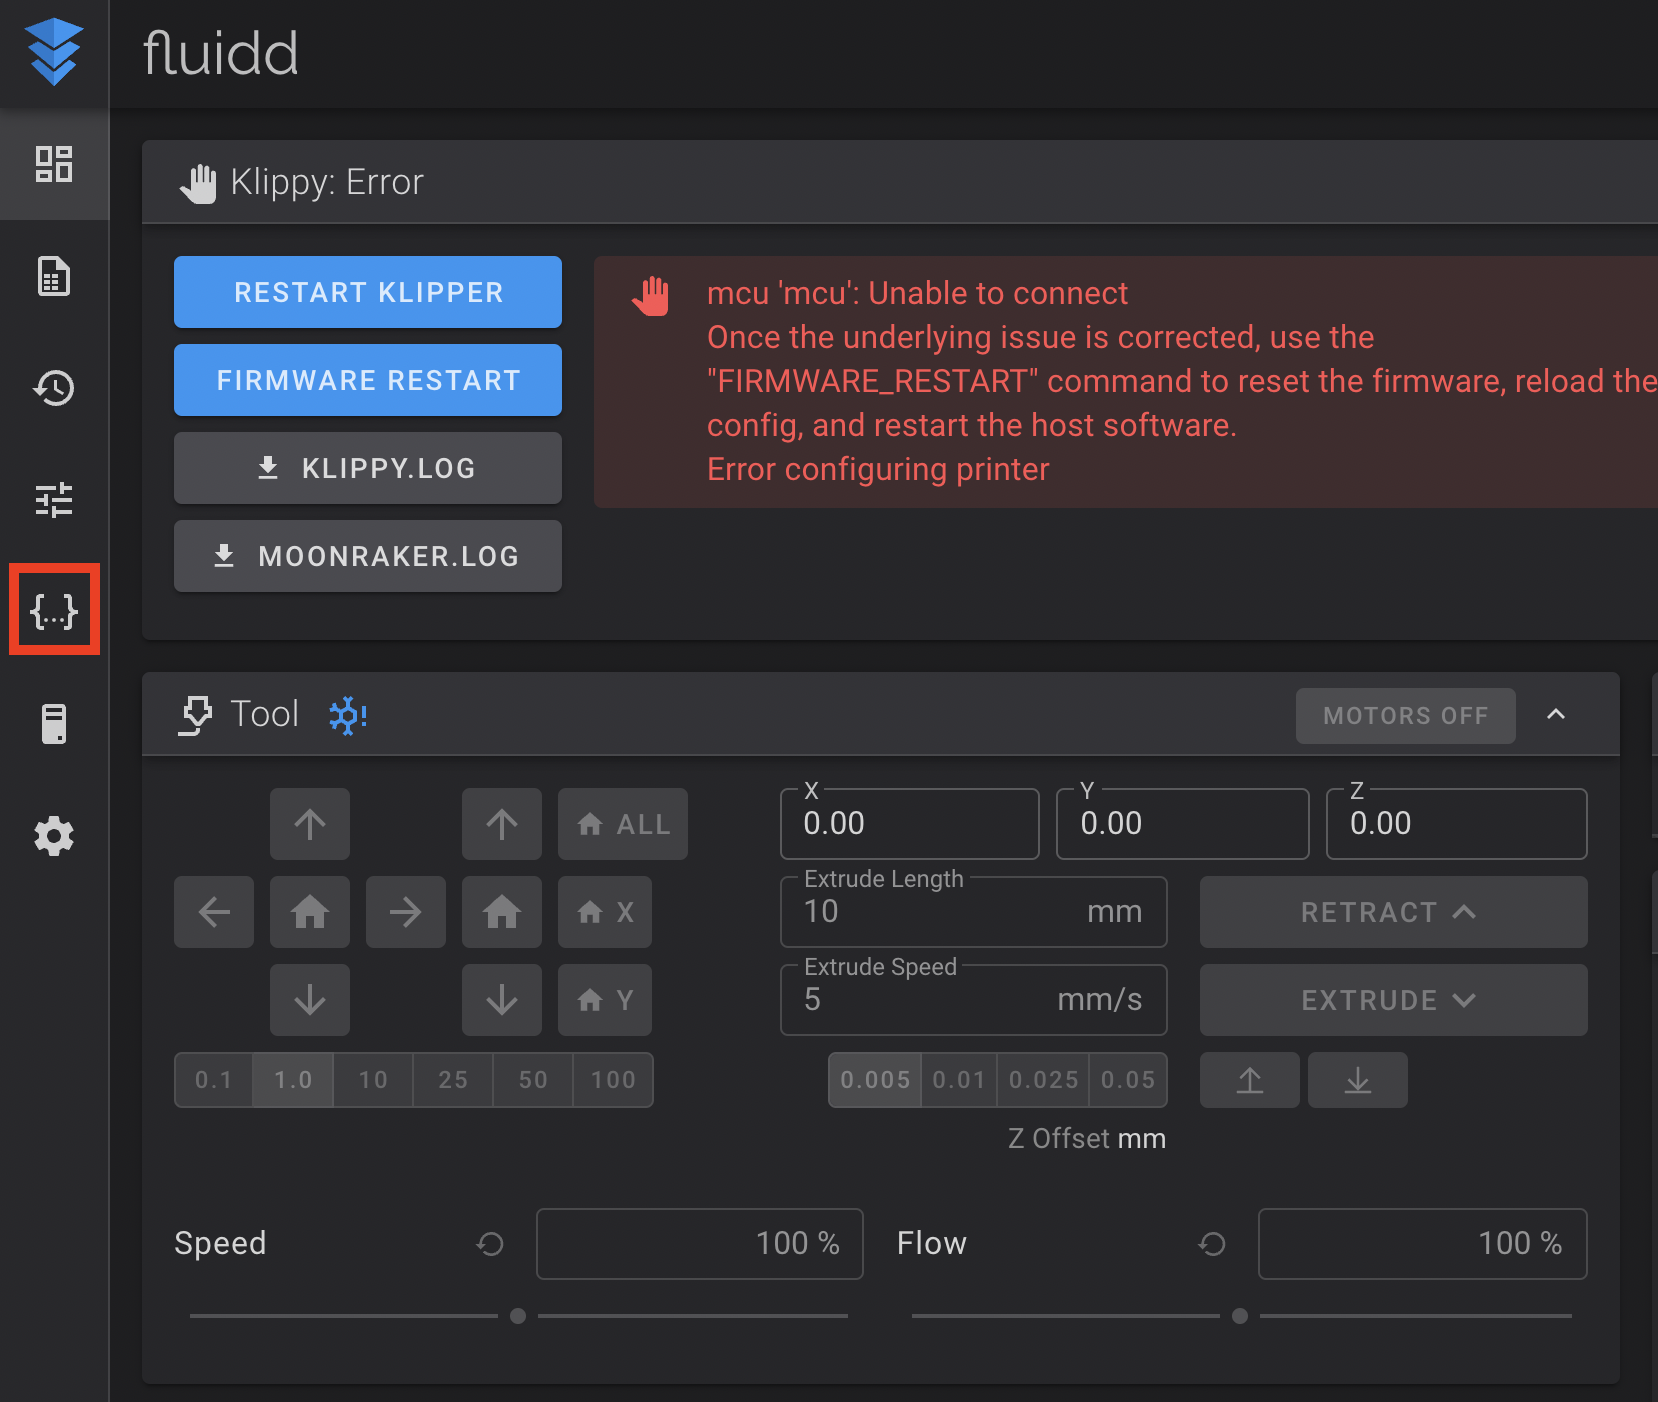
- Navigate to the IP address of your Raspberry pi or the hostname, whichever you prefer. This will bring up the Fluidd interface.

- Select Configuration from the menu bar on the left.

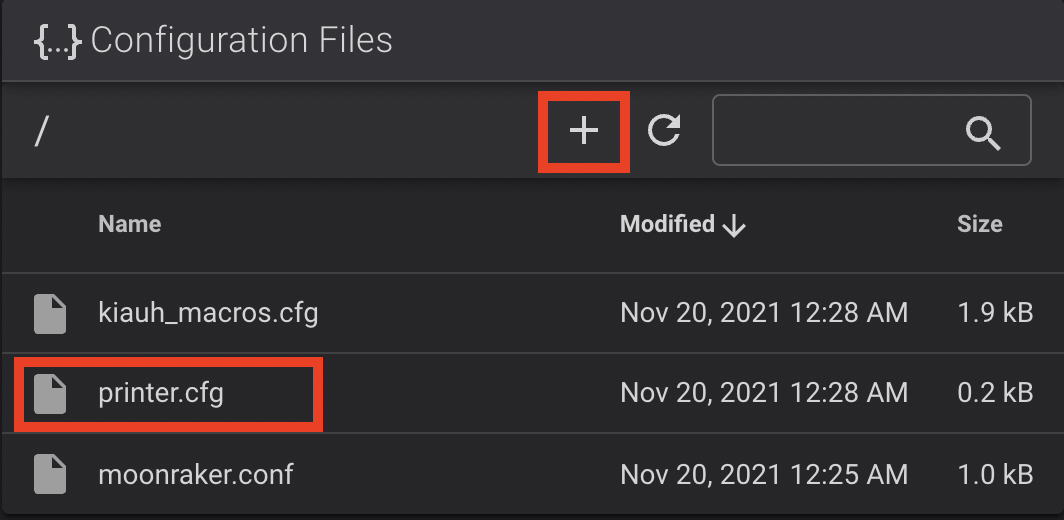
- Select either printer.cfg or the “+” to modify/upload a printer configuration file.

The printer config files I have provided have comments and sections throughout to help let you know what spots to modify for your particular printer setup. If you are using a 3Z setup, 2Z setup, X201, X301, X401, or X501 these configuration files should be set up for every one of them.
¶ Next steps and Tuning
Once you have your printer configuration file set, and you are confident that your printer moves as intended you are ready to start tuning things. If you are using BLTouch you should start with probe calibration and bed mesh. Next you will want to fine tune your Z offset and extrusion or E-steps. From there Pressure advance would be a good next step and finally Resonance tuning. For the last one it is recommended to use an accelerometer although it is not required.
Continue to tuning